⏯️Lost Pixel Platform
Setting up Lost Pixel Platform - managed version of Lost Pixel
Lost Pixel Platform offers a managed service with a user-friendly interface for a more efficient visual regression testing workflow.
The platform version provides additional features like collaboration tools, automated test runs, and detailed reporting. Upgrading to the Lost Pixel Platform allows you to streamline your visual regression testing process, improve collaboration with your team, and gain access to valuable insights and analytics.
Lost Pixel Platform has first-class integration with GitHub & GitHub Actions but can be set up with any CI provider, given it runs on GitHub
Create Lost Pixel related files
We need to create lost-pixel.config.js|ts file that will run the whole setup. We will use the example of lost-pixel.com as it is set up on our own platform 😊
Next up is the GitHub action declaration file that lives in .github/workflows. We are building & serving our Next.js application & run Lost Pixel on it's pages(defined in the above file):
Set up the Lost Pixel platform
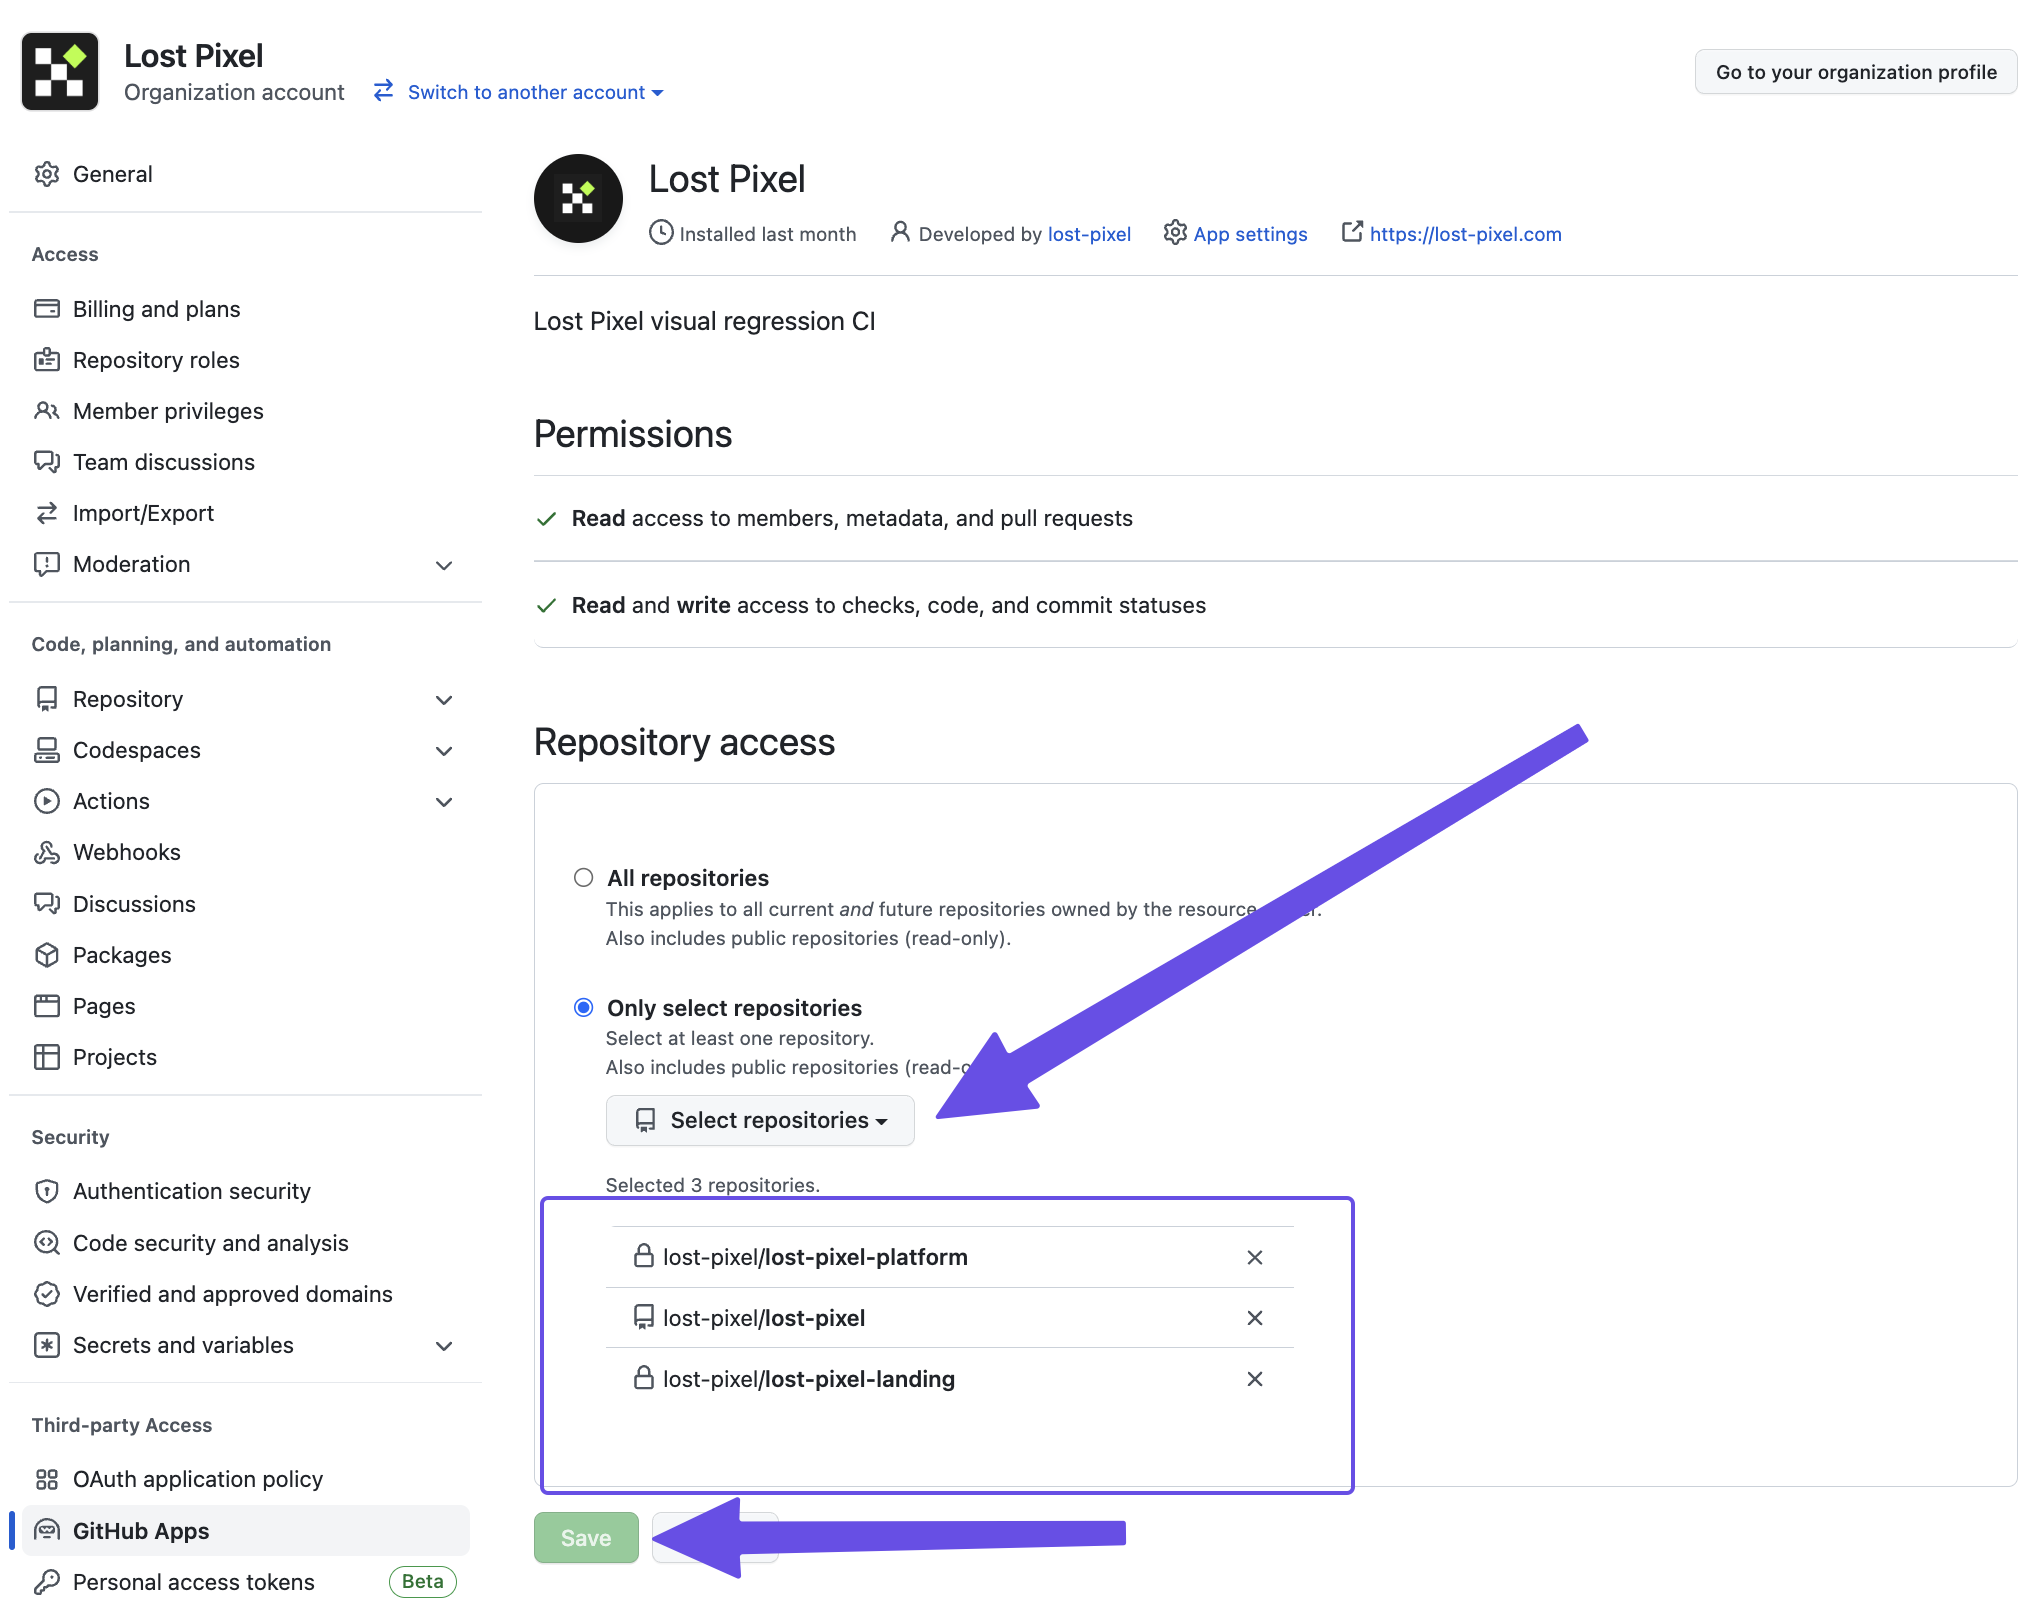
Visit the Lost Pixel installation page and install Lost Pixel App on organisations & repositories you want to have visual tests on
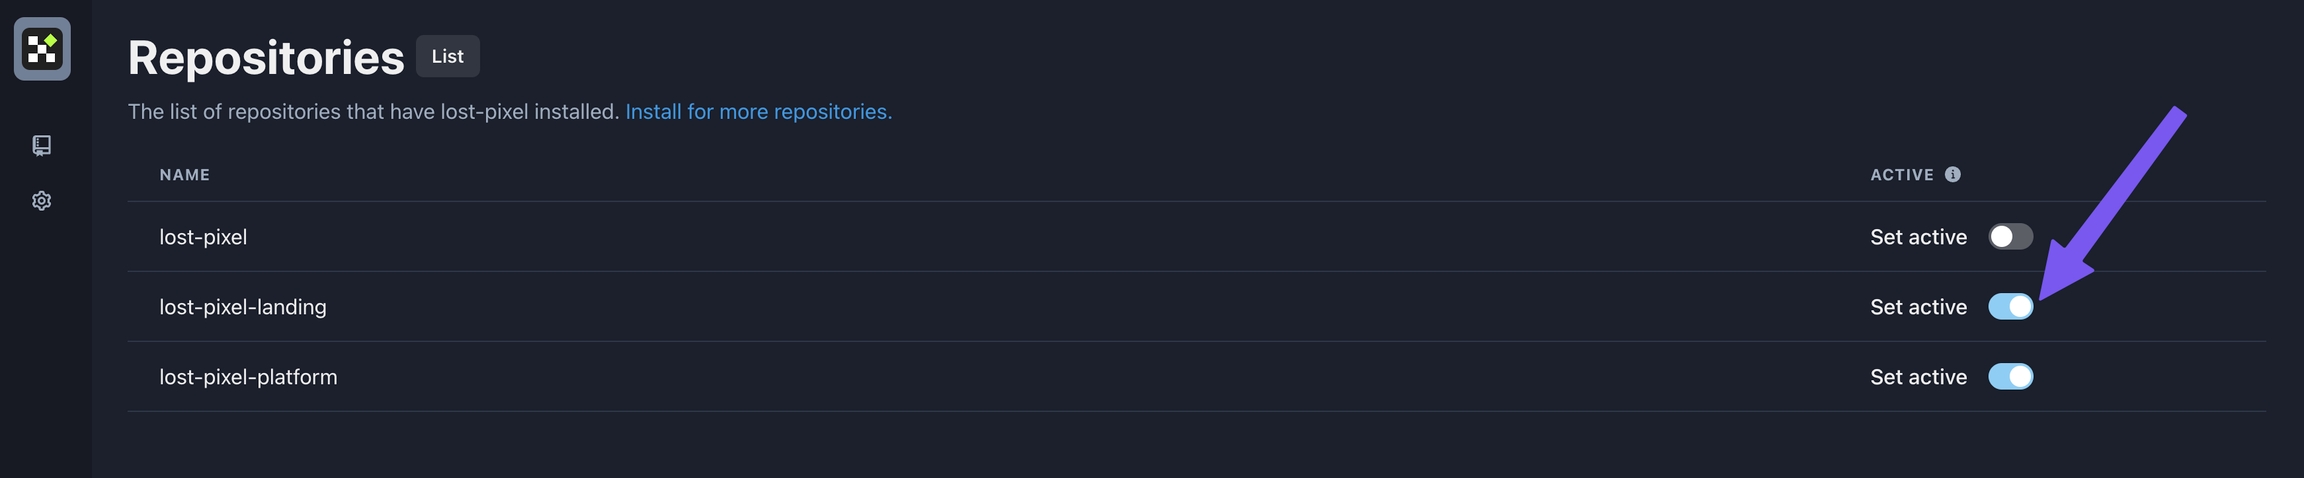
Sign in using GitHub into app.lost-pixel.com, switch to the correct organisation & select which repositories selected in the previous step should be visible on the Lost Pixel Platform:
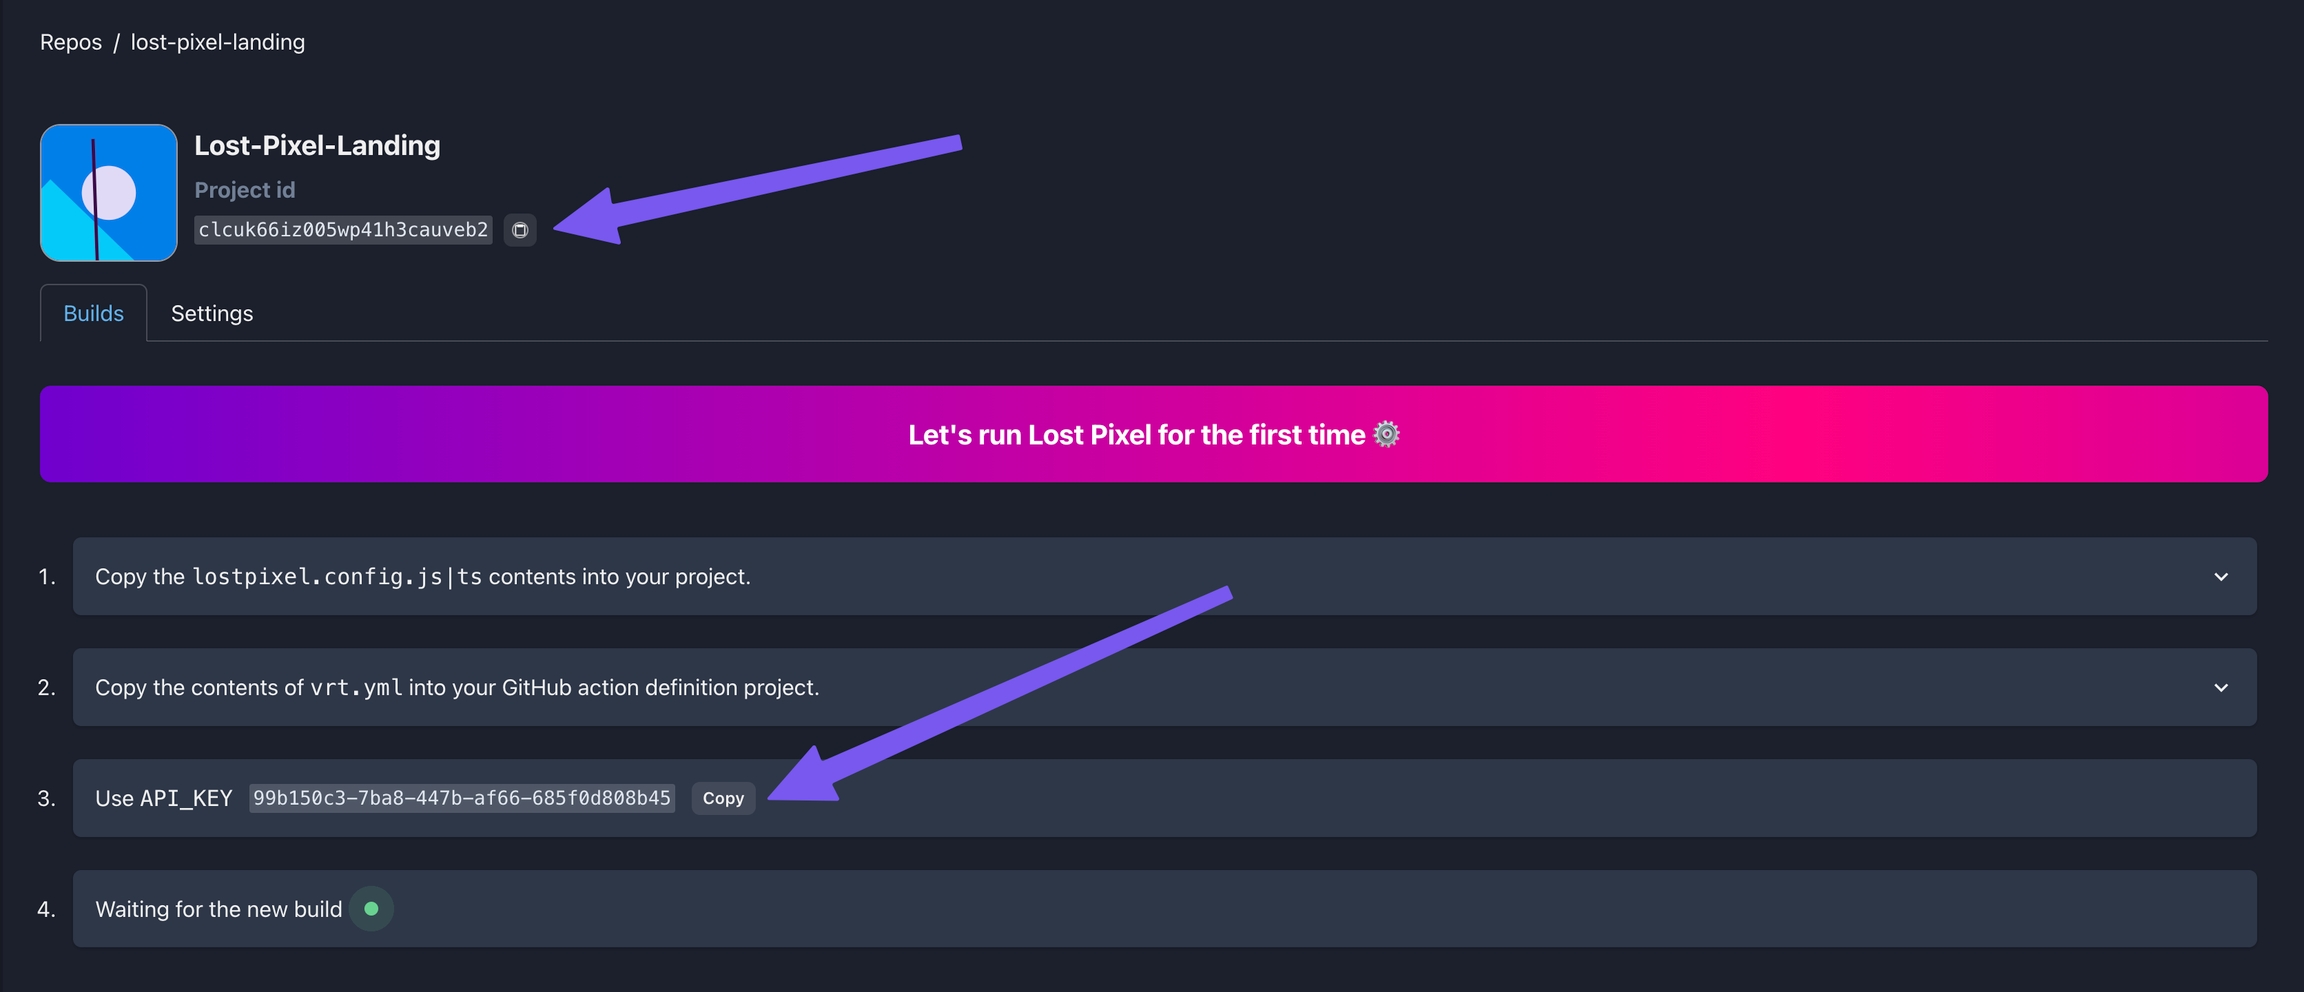
From the onboarding-screen copy your project id and replace it in the lost-pixel.config.ts created in the first step
Copy the Lost Pixel API key, we will need to do the final step to provide it as a GitHub Action secret.
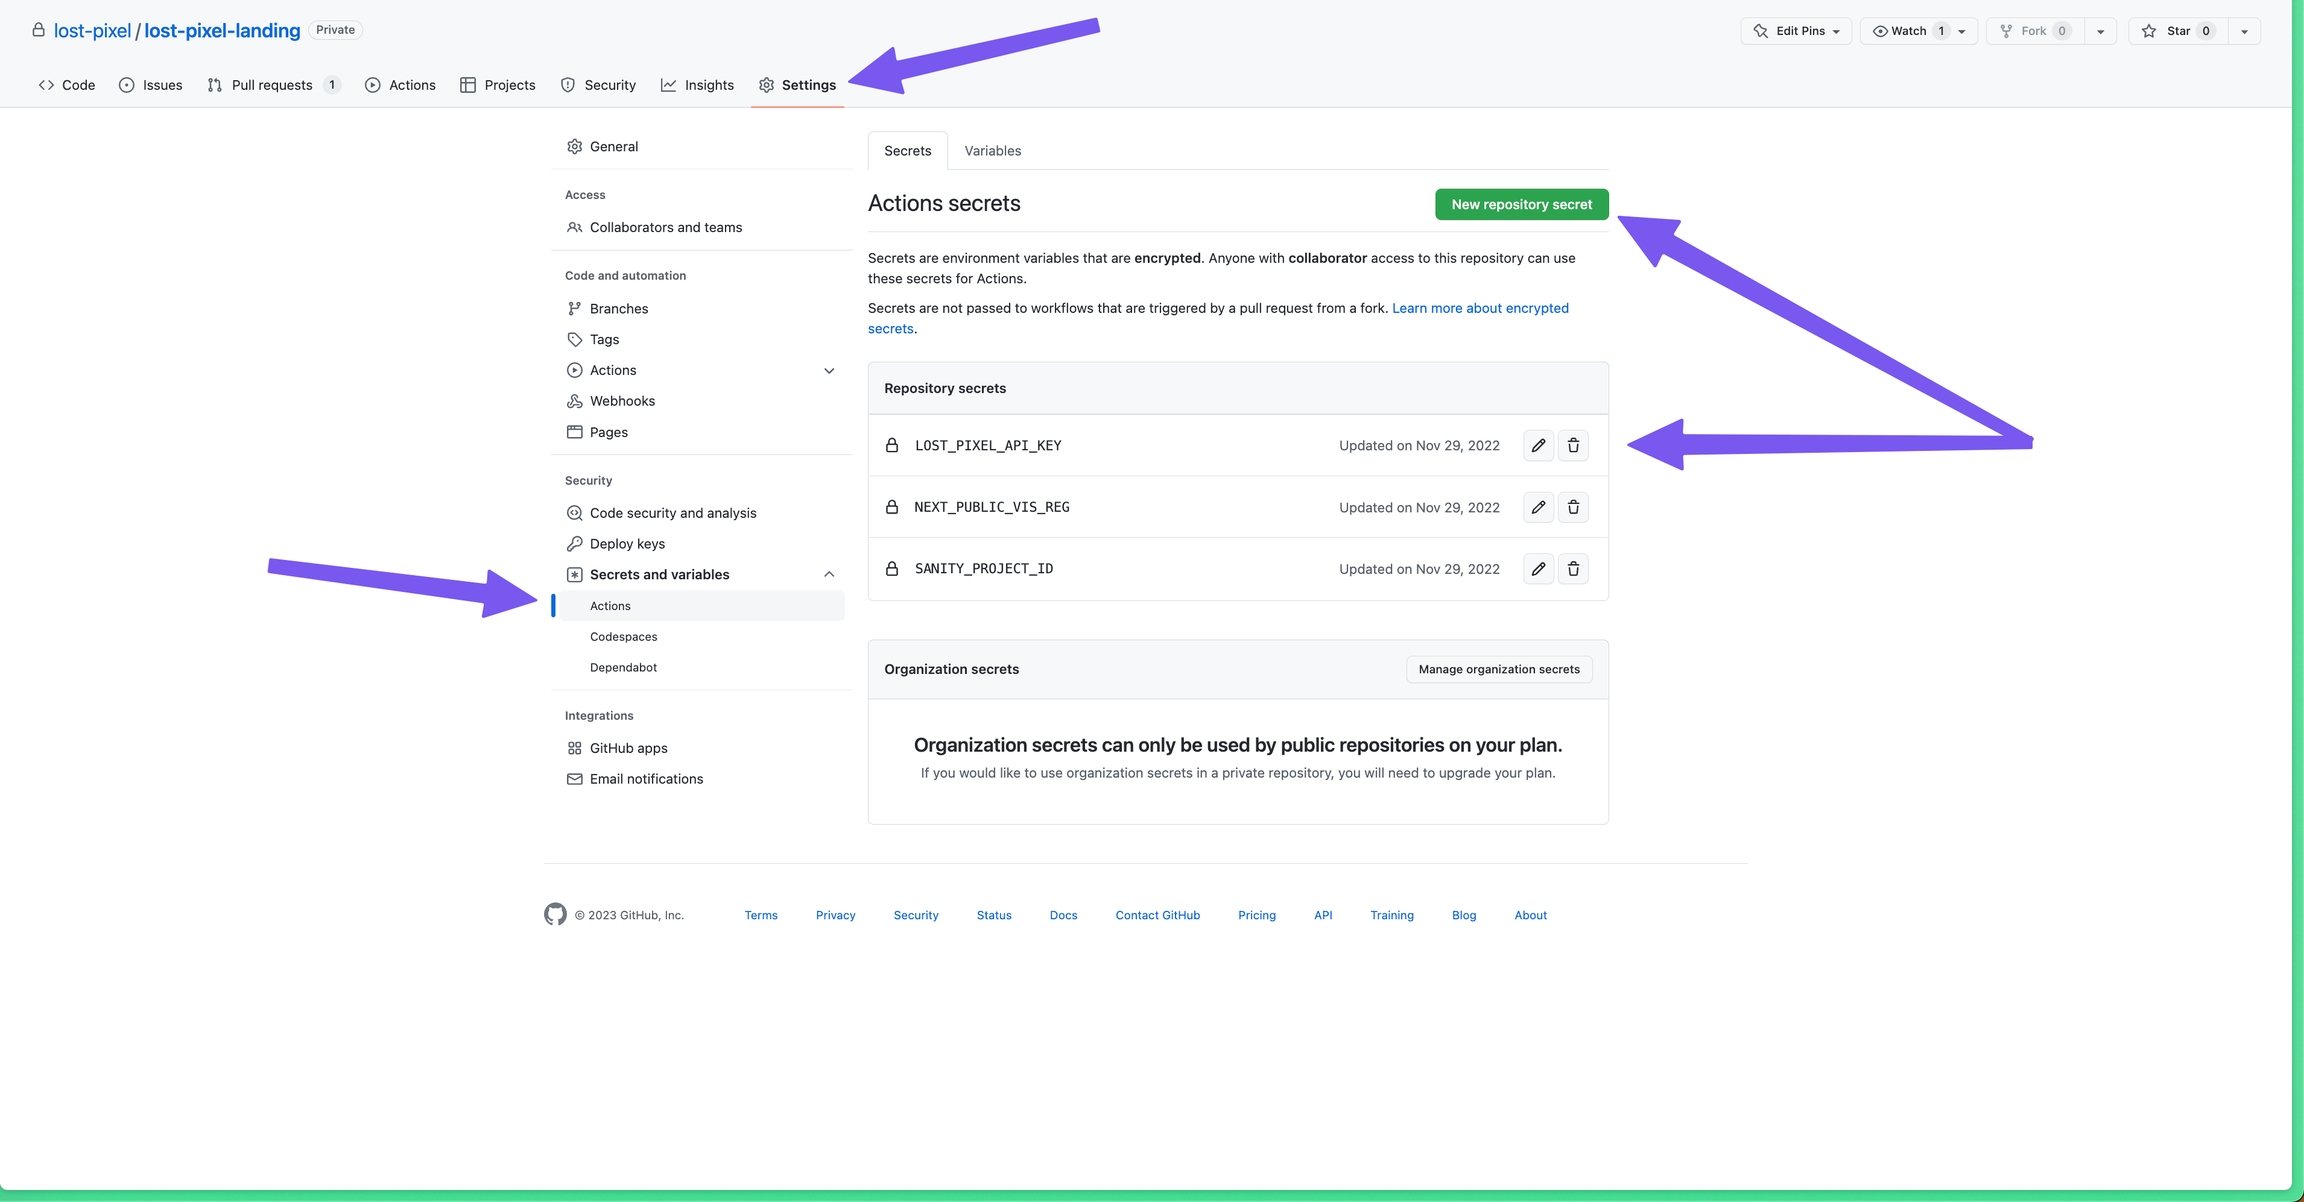
Set Lost Pixel API key on GitHub
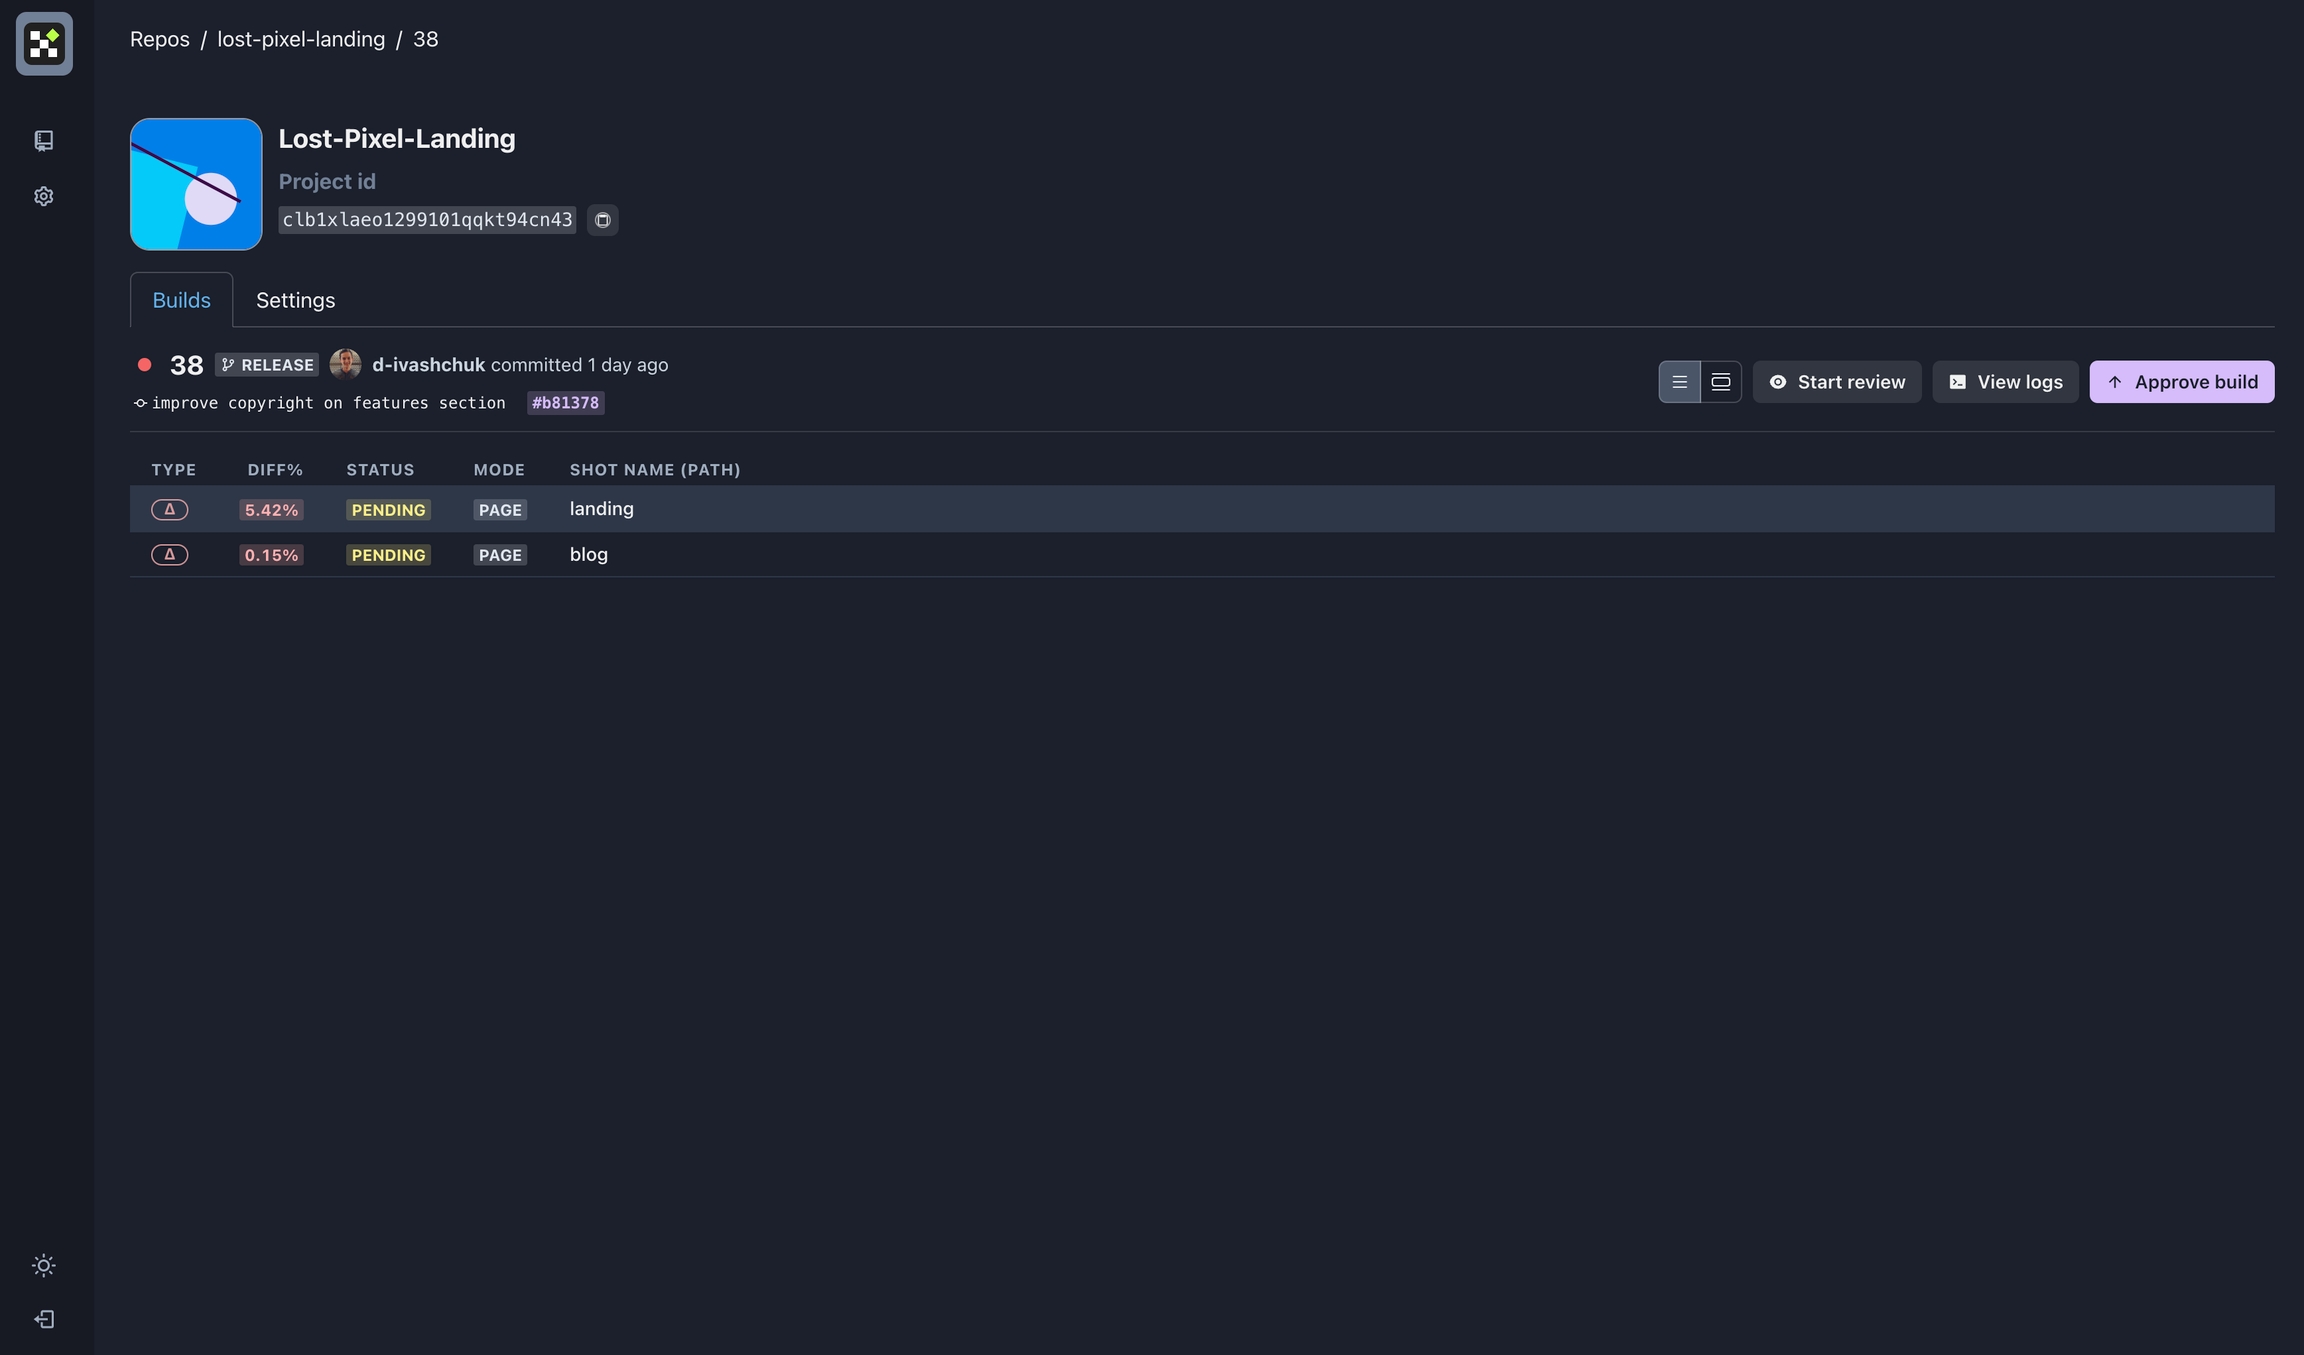
Your visual regression testing workflow is done 🎊
All new pushes to your repository are triggering visual tests that you can conveniently manage yourself or collaboratively with your team!
Last updated